Introduction to Resonic Pro
This page briefly introduces you to the first batch of features in Resonic Pro.
Table of Contents
- 1 Usability
- 2 Interface
- 3 Selecting
- 4 Pitching
- 5 Metering
- 6 Slicing
- 6.1 Creating Slices
- 6.2 Mapping Slices to Keys
- 7 Extracting
- 7.1 Extracting with Crop Buttons
- 7.2 Extracting with Drag & Drop
- 7.3 Changing the Extraction Format
- 8 Dragging
Usability
Many elements in Resonic are custom-made to improve usability.
Some buttons support mouse wheel input, i.e. you move the mouse cursor over them and then use the Wheel. This works, for example, on the visualization type, playback mode, and on the pitch-shifting buttons, which are initially labeled .
Learn more: Usability
Selecting
To create a selection hold down ⇧ Shift, then click and drag the mouse in the waveform; clear the selection with ⇧ Shift+Right-Click.
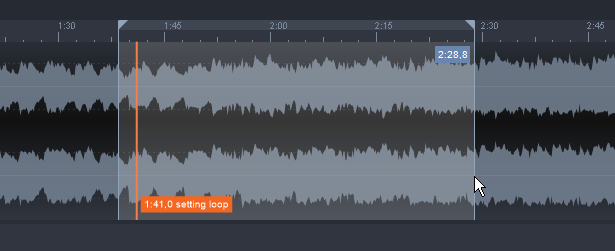
The Keep Position feature () also applies to the current waveform selection, i.e. selections are maintained when switching the playing file.
The current mouse-selected region in the waveform is automatically saved before it is modified or cleared, which means it is not accidentally lost.
The last region can be restored by right-clicking the or buttons and selecting Restore last selection from the menu.
If a region already exists and a new one is created this feature toggles between the last one and the current one.
This feature is also available as a global hotkey.
Pitching

To change pitch either use the two buttons (representing semitones and cents) — use Wheel, Left-Click and drag up or down, Right-Click for a menu, or Left-Click to reset.
For keyboard operation hold down Ctrl and press Num +, Num -, or Num * to reset.
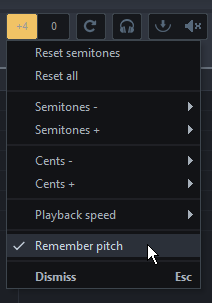
Pitch-shifting, when active, is applied to all extracted audio.
Pitch-shifting is reset when you switch the playing file. To change this behavior right-click the buttons and select Remember pitch.
Metering

The level meter bars display both peak and RMS.
The top portion shows peak values and visualizes peak hold as well as post-decode clipping, i.e. compressed audio peaking above 0dBFS after decoding.
The bottom portion visualizes stereo phase correlation (mono compatibility) using a line that's moving horizontally (left: -1, middle: 0, right: +1 being fully mono).
Creating Slices
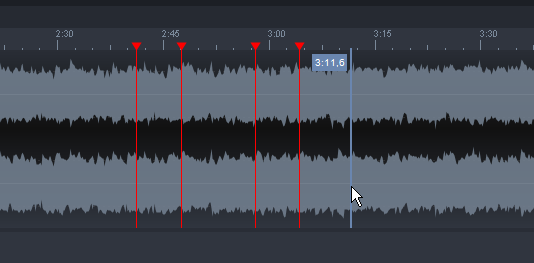
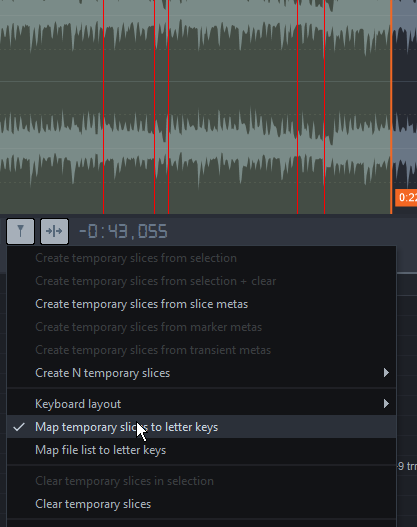
To create temporary slice markers in the waveform hold Alt and Left-Click.
Markers are currently not saved and will be lost once you change the playing file. Will improve in future updates.
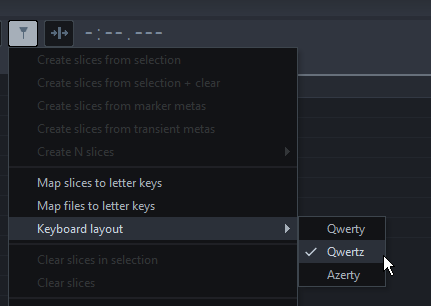
Slices can be extracted to new audio files. Click the marker button () for additional options and features. See Extracting.
Extracting
Selected portions of audio content can be extracted to new .wav files.
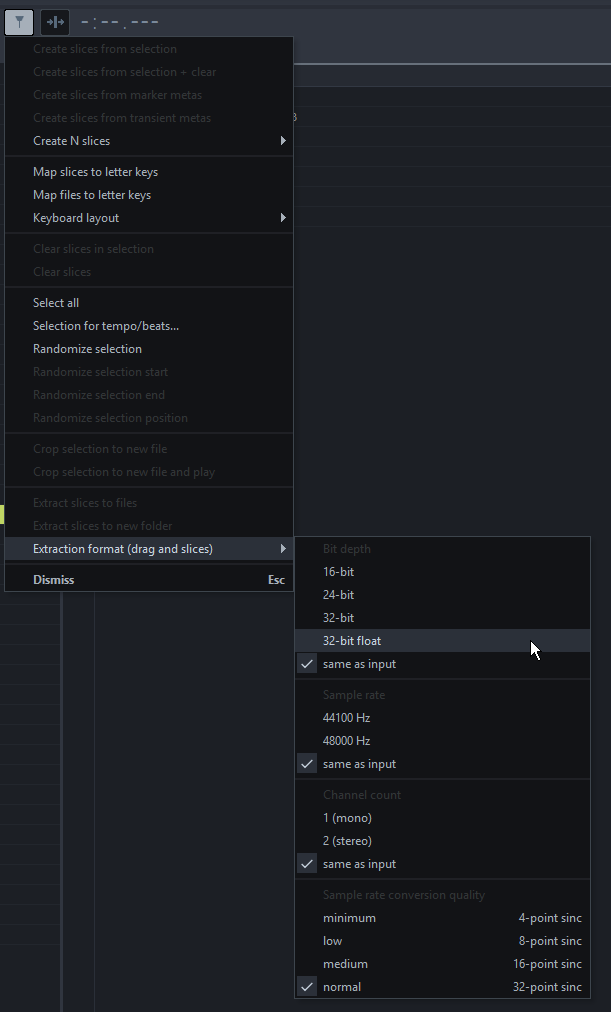
During audio extraction conversion of sample rate, bit depth, and channel count is done on-the-fly and only when drag & drop extracting, and when extracting slices.
Learn more: Audio Extraction
Extracting with Crop Buttons
Two crop buttons exist to extract the current waveform selection to the current folder. The original sample format is retained, if possible.
- to crop to the current folder
- to crop to the current folder, then play the new file
Extracting with Drag & Drop
A little square appears in the lower right corner of waveform selections, which can be dragged & dropped into the file list, browser folders, and any other application that accepts files.

When you're trying to extract a long portion of audio content a progress indicator may appear in place of your mouse cursor. Do not release your left mouse button before the indicator has filled up, or else extraction is cancelled.

Dragging
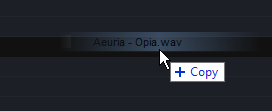
Files and selections can be dragged & dropped from Resonic, into DAWs and video editing software, including their timelines, and into any other application or plugin that accepts files, for example:
Windows Explorer, Skype, Ableton Live, Steinberg Cubase, Image-Line FL Studio, Presonus Studio One, Bitwig, Adobe Premiere, Adobe After Effects, Magix Vegas, etc.
Learn more: Why can't I Drag & Drop to/from other applications?
Learn more: File List




 Back to top of page